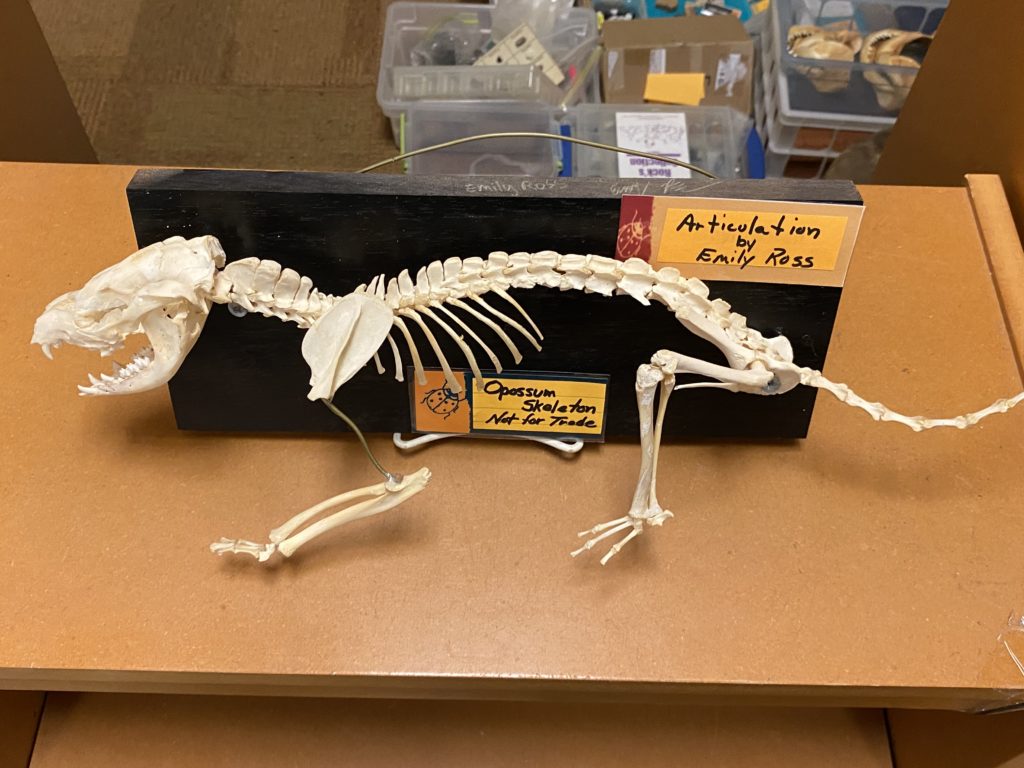
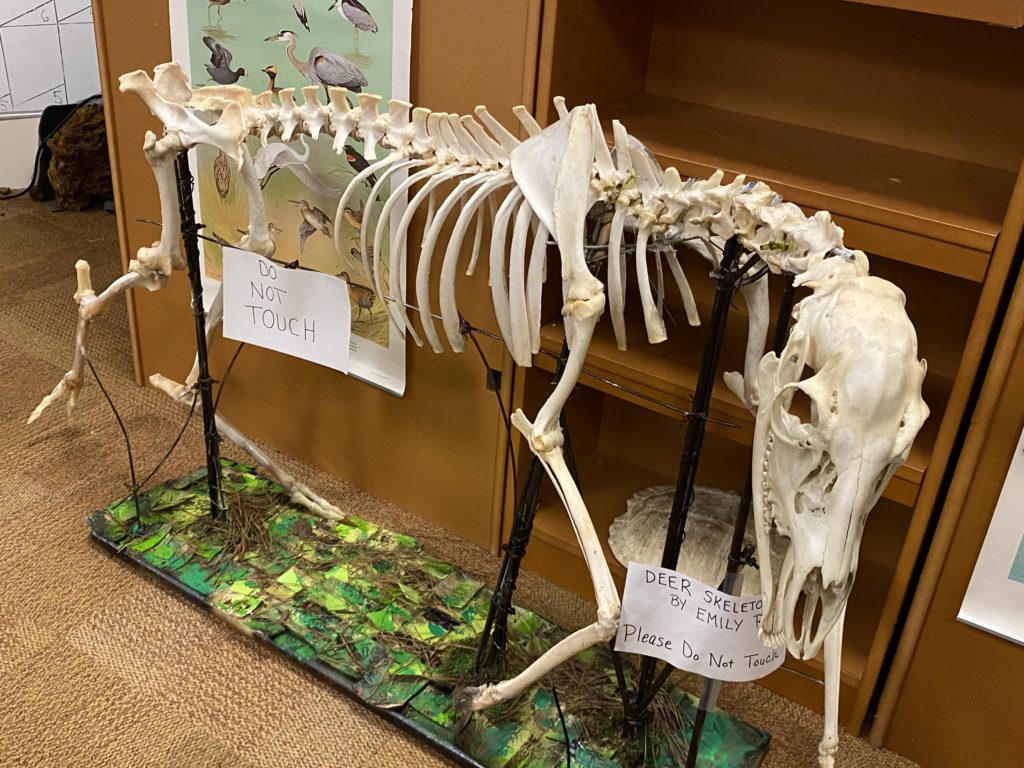
Nature Exchange Trader Feature: Emily Ross
Learning about Skeletal Articulation
By Emily Ross, Nature Exchange Trader
Have you ever wondered where some of the incredible animal skeletons come from that can be seen in the lower level of the Discovery Center?
We’d like to introduce you to Emily Ross who creates many of these amazing skeletons. We asked Emily to give us some background information on how she got started, how she puts together or “articulates” the skeletons, and where she thinks this hobby will take her in the future. Read on to hear her fascinating answers!
How did this interest develop?
Skeletal articulation, skulls, and collecting bones are subjects I’ve always had an interest in, but never really knew how to start such niche hobbies. I live in a suburban area which often has limited my options for finding bones. The only easy option was picking up roadkill, which I didn’t have the stomach for. Luckily for me, I met Aspin Hollingsworth (they/them), who is now one of my closest friends. Aspin also shared interests in anatomy and collecting bones. When we started this hobby, they also had a car and stamina strong enough to deal with the gross bits that I couldn’t handle. To be honest, we both had no idea what we were doing in the beginning – but over time (and with the hesitant support of my mother, who temporarily allowed us to use her garage and got us supplies) we eventually had too many bones to really know what to do with. For some odd, probably morbid, reason – I always loved when the bones we had were all together, which inspired me to start actively putting them in the correct places. It was like the bones were some kind of puzzle. I loved the end result when I had a completed articulation that I could add to my collection of rocks, bones, and oddities.
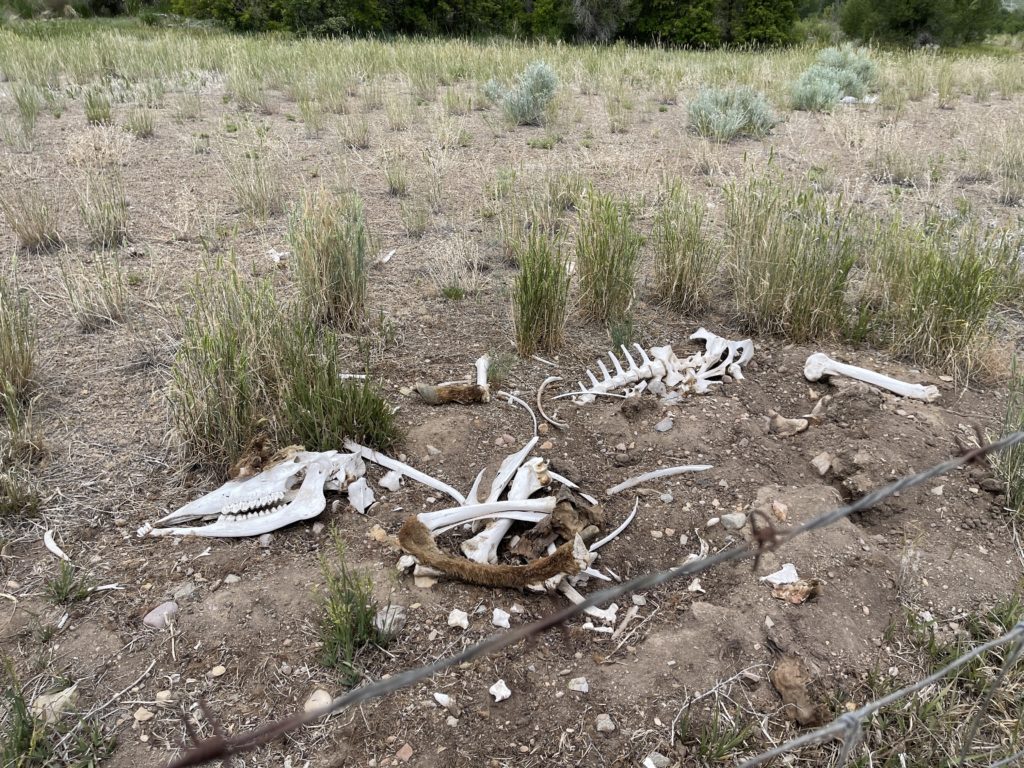
My biggest find was a moose skeleton in the Utah scrub lands this summer. My mom and I packed most of it in a Walmart parking lot in shipping boxes bound for Georgia. (Again, this hobby has stretched the definition of what comprises motherly love). My first articulation was the foot of a roadkill mink we had found – ironically on our way to the Nature Center.
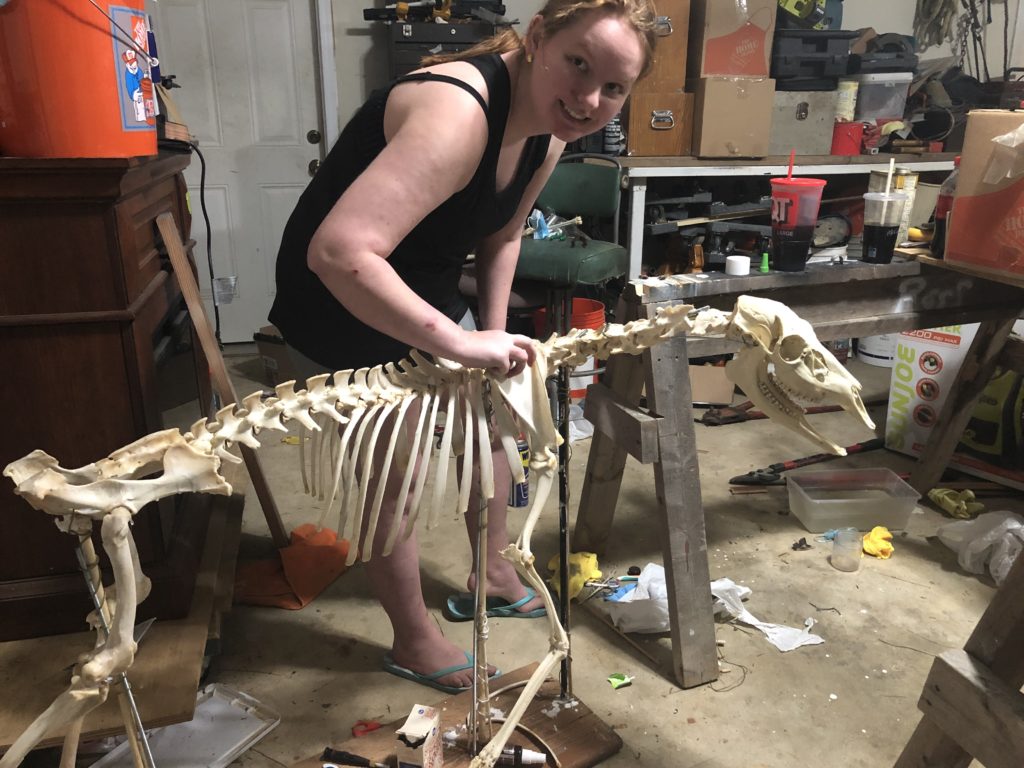
What are the steps you go through to articulate a skeleton?
When it comes to having a complete skeleton of an animal, the No. 1 rule is to keep everything as organized as possible. Keeping each individual disarticulated foot in separate bags is very important. If things become mixed up, it takes much longer than necessary to actually begin the process of articulation.
 I always start on the spine of the animal first, making sure a strong wire runs down the entire structure. I then attach the cranium, and next, the pelvic bone. After these pieces are attached, I begin working on the ribcage – which is one of the sections that I most struggle with. For smaller animals, it’s extremely difficult to distinguish the slight differences in the ribs, and there are not many helpful references online.
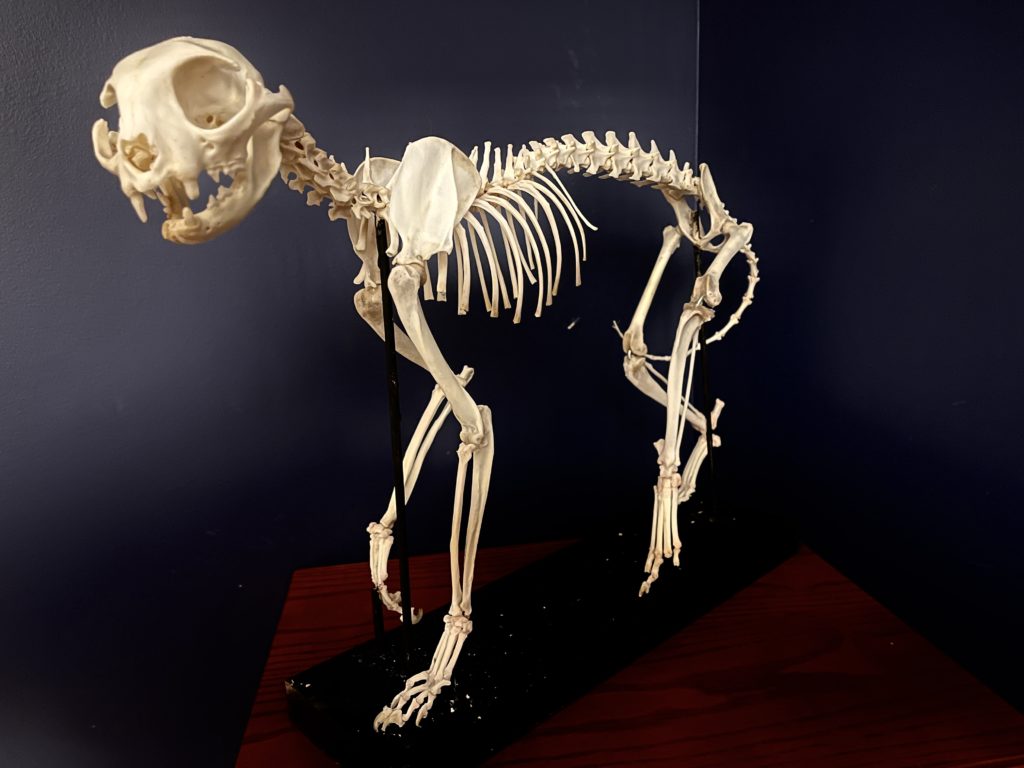
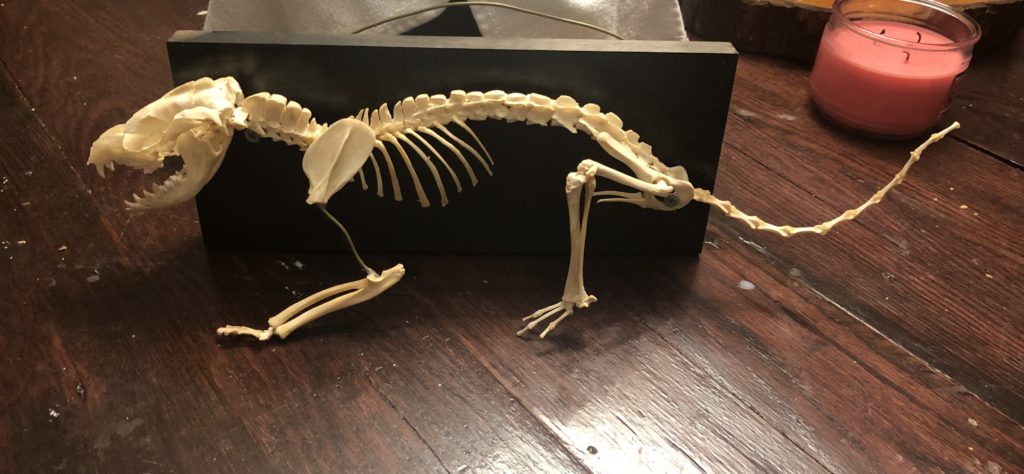 Once all of this is completed, I use a wooden base and small dowel rods to create supports for the articulation to rest on. At that point, I will start doing the tedious activity of putting the toe bones together. Surprisingly, the feet are not difficult, but they take the most time and can be quite annoying if they’re not positioned properly on the base. I attach the feet to their correct legs and then I glue the back legs to the pelvic bone. Attaching the front legs, specifically the scapula onto the skeleton is one of the most difficult processes when it comes to making an accurate-looking skeletal form. Not only is it very difficult to place, since there’s not really a socket or indent for it to naturally be glued to, but if the scapula looks even slightly off, then the entire skeleton ends up looking strange. Once all of this is done, I finish off the skeleton by attaching its jaw.
How did you learn to do this? Any future school plans or career goals?
It took me quite a lot of trial and error to learn how to make articulations, and I’m still learning so much more as I continue to put together a variety of animals for both my own enjoyment and the benefit of the Nature Center. Although I had considered going into the medical field for my future career, I have instead decided to aim in a more artistic direction. I feel that articulation has allowed me to incorporate both of these careers of mine into a perfect mix of science, anatomy, and artistic passion. Because of articulation, I have been able to help my community in ways I couldn’t imagine, such as the community service of picking up roadkill, donating natural oddities to the Nature Center, and being able to educate people using my artwork. Not only that, I have learned so many new things by engaging in this hobby.
How did you become involved with the Chattahoochee Nature Center?
I remember when I was younger, I absolutely adored the Chattahoochee Nature Center. I specifically recall working so hard to save up points to exchange them for a possum skull. Through the years, I mostly drifted away, captured by other interests of childhood. But a year and a half ago, I remembered that the trading exchange had bones – so Aspin (also a huge fan of the Chattahoochee Nature Center) and I decided to investigate. I never imagined that the nature center would open up so many new possibilities. I also enjoy the CNC’s yearly butterfly exhibit, as well as the wildlife encounters featuring injured and rehabilitated animals.
Where can we see some of your work?
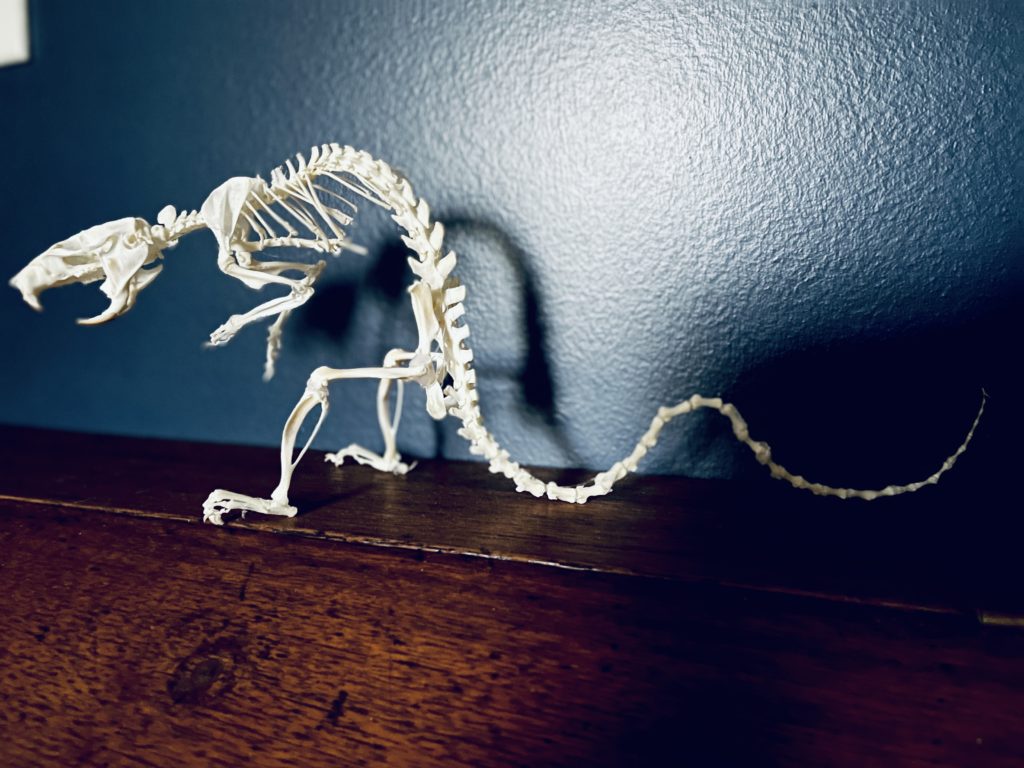
You can find some of my articulation work in the Nature Exchange at CNC and artwork on Instagram @Shadowfangbudder.
